Royal Smash! - Physics Puzzle · Cypher Games · Mobile

Master the Cannon

A comprehensive guide to aiming and physics in Royal Smash! - Physics Puzzle. Learn how angle, power, and timing combine to create effective shots, understand the physics engine, and discover practical tips to improve your accuracy and level completion.

Start Learning
01

Core Physics Principles

How the Physics Engine Works

Gravity and Trajectory

Shots follow a parabolic arc affected by gravity, requiring players to adjust angle and power to hit targets at different distances. Higher angles produce steeper arcs for close targets, while lower angles produce flatter trajectories for distant targets. Gravity is consistent across all levels, making trajectory predictable. The physics engine is deterministic, so the same input always yields the same result.

Predictable gravity means you can learn the exact arc for every distance and repeat it reliably.

Core Physics Principle

Impact Force and Object Destruction

The force of impact determines how much damage objects take, with heavier cannonballs causing more destruction. Objects have different durability levels, and direct hits cause more damage than glancing blows. Force diminishes over distance due to air resistance, so cannonball weight affects impact force and should be considered when planning long shots.

Chain Reactions and Structural Collapse

Destroying key support objects can trigger chain reactions, collapsing entire structures and clearing multiple targets at once. Identify load-bearing elements to maximise destruction, because chain reactions are essential for achieving high scores. Timing of collapse can affect subsequent shots, so plan your sequence carefully.

Key Takeaway

Chain reactions are a core mechanic for level completion. One well-placed shot can do the work of five.

02

Cannon Aiming Controls

How to Aim the Cannon

Drag and Release

The primary aiming method involves dragging on the screen to set angle and power, then releasing to fire. Touch controls are optimised for mobile devices, and a trajectory preview line helps with aiming.

  1. TOUCH Place your finger on the cannon.
  2. DRAG Pull back to set angle and power.
  3. PREVIEW Check the trajectory line.
  4. RELEASE Let go to fire the cannonball.

Fine-Tuning Adjustments

Players can make small adjustments to angle and power after the initial drag for precision shots. Use on-screen buttons or sliders for fine-tuning, which is crucial for hitting small or moving targets. Practice helps develop muscle memory for adjustments, and fine-tuning options are available in most levels.

Pro Tip

Make your first drag deliberately short, then fine-tune with small nudges. It is much easier to add a little power than to take it back.

03

Angle and Power Relationship

Finding the Best Shot

The 45-Degree Myth

While 45 degrees gives maximum range in a vacuum, the game's physics and level design often favour other angles. Obstacles may block low trajectories, and high angles are useful for dropping onto targets. Experimentation is key to finding optimal angles because no single perfect angle exists; it depends on level layout.

Power Management

Controlling power is essential to avoid overshooting or undershooting targets. Full power is rarely needed for close targets, and low power shots are useful for precision. Power affects the cannonball's speed and impact force, and is adjustable from 0-100%.

Power Tip

Start at around 60% power for mid-range targets. You can always add more, but an overshot cannonball is wasted.

04

Destructible Objects and Materials

What You Can Destroy

Wooden Structures

Wood is the most common material, breaking easily with moderate force. Wooden planks and crates are vulnerable to direct hits, and chain reactions often start with wooden supports. Wood can also be used to create bridges or block paths. Wood has low durability, making it the easiest material to destroy.

Stone and Metal

Stone and metal objects require more force or multiple hits to destroy. Stone blocks are resistant but can be cracked, while metal objects may deflect cannonballs. Targeting weak points is essential for these materials because stone and metal have high durability.

Explosive Objects

Barrels and TNT create explosions that can destroy nearby objects and trigger chain reactions. Explosions have a radius of effect, and chain reactions are amplified by explosives. Use explosives strategically to clear large areas, and remember that explosive objects are present in many levels.

Safety Tip

Never waste a shot on a single explosive. Aim for the cluster around it and let the blast do the work.

05

Chain Reactions and Structural Collapse

Triggering the Big Collapse

Identifying Key Supports

Look for load-bearing elements that, when destroyed, cause the entire structure to collapse. Pillars and central beams are often key supports, and destroying a support early can save cannonballs. Observe the structure before shooting because structural integrity is simulated in the physics engine.

  1. Scan the whole structure before your first shot.
  2. Look for pillars, central beams, and narrow connections.
  3. Target the weakest support that holds the most weight.
  4. Fire, then watch how the collapse develops.

Using Explosives for Chain Reactions

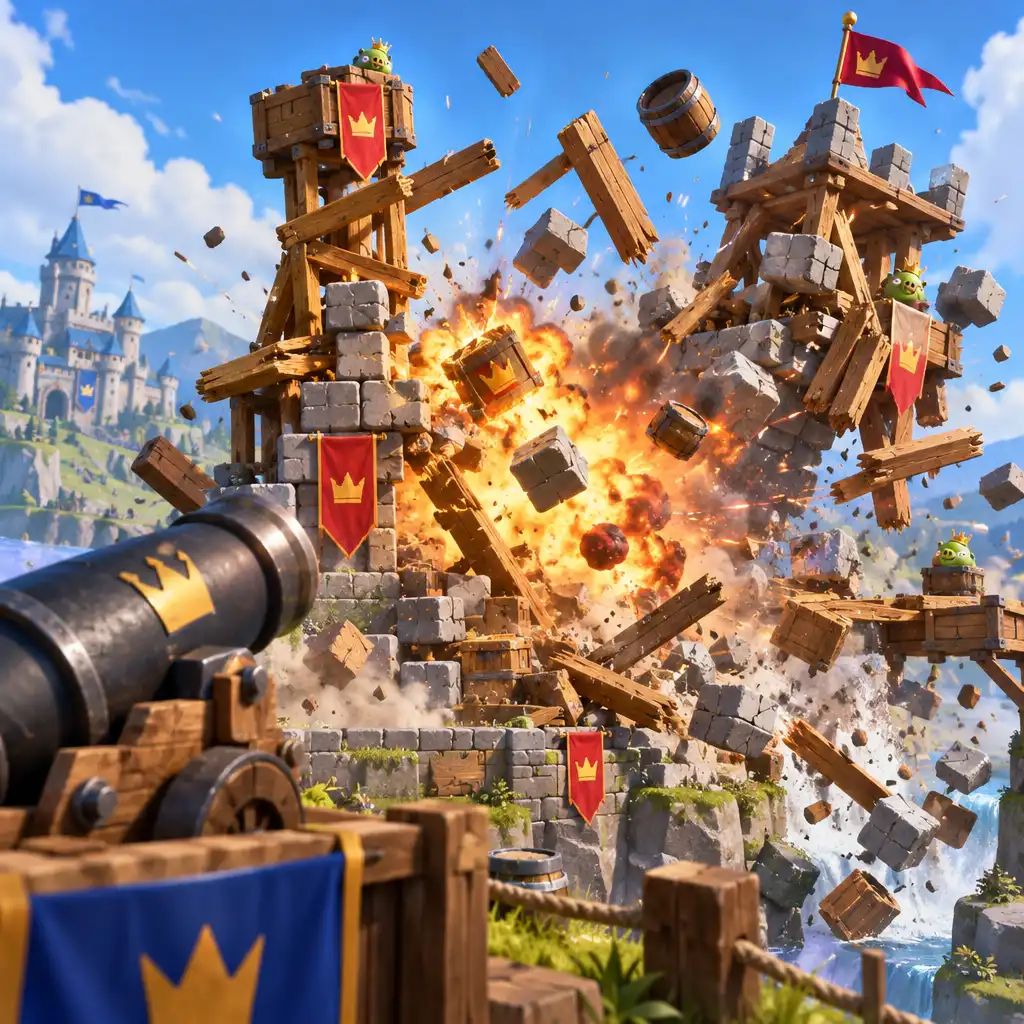
Explosive objects can amplify chain reactions, destroying multiple targets with a single shot. Place shots to hit explosives near clusters of objects, and remember that explosions can trigger secondary explosions. Chain reactions often lead to higher scores because explosives have a blast radius that affects nearby objects.

Warning

Do not fire at an explosive that is too close to your cannon. The blast radius can damage your own position in some levels.

A large structure collapsing with wooden planks and stone blocks falling while an explosion bursts in the centre
Chain reaction collapse in Royal Smash! - Physics Puzzle
06

Practical Aiming Tips

Aim Better, Every Time

01

Use the Trajectory Preview

The trajectory preview line is your best friend; use it to adjust angle and power before firing. Preview shows the path of the cannonball, so adjust until the preview aligns with the target. Preview may not account for object physics, so anticipate. Trajectory preview is available in most levels.

02

Practice with Low-Stakes Shots

Take time to experiment with different angles and powers in early levels to build muscle memory. Early levels have fewer obstacles, and repetition helps internalise physics. Don't be afraid to restart levels because there is no penalty for restarting.

03

Plan Your Shots

Before firing, assess the entire level layout and plan a sequence of shots to maximise destruction. Identify high-value targets, consider chain reactions, and conserve cannonballs for later levels. Cannonball count is limited per level.

07

Physics Across Levels

How Physics Evolves

Early Levels: Learning the Basics

Early levels introduce basic physics with simple structures and few obstacles. Focus on understanding trajectory and impact, because structures are mostly wooden and the cannonball count is generous. Early levels serve as tutorials.

Mid Levels: Increasing Complexity

Mid levels add stone and metal objects, requiring more precise aiming and power management. Structures become taller and more complex, explosives appear more frequently, and chain reactions become necessary. The difficulty curve increases steadily.

Mid-Level Shift

This is where brute force stops working. Start looking for structural weaknesses before every shot.

Late Levels: Mastering Physics

Late levels demand mastery of all physics mechanics, with intricate structures and limited cannonballs. Precision is critical, multiple chain reactions may be required, and experimentation and planning are key. Late levels are designed for experienced players.

Late levels reward patience and planning more than fast fingers.

Level Progression Insight
08

Common Aiming Mistakes

Avoid These Errors

01

Overpowering Shots

Using too much power often causes overshooting and wasted cannonballs. Start with lower power and increase gradually, use trajectory preview to gauge distance, and remember that power affects impact force. Power is adjustable from 0-100%.

02

Ignoring Structural Weaknesses

Failing to identify load-bearing elements leads to inefficient shots. Always scan the structure before shooting, look for cracks or lighter materials, and target supports to save cannonballs. Structural integrity is simulated.

03

Not Using Explosives Strategically

Explosives are often wasted on single targets instead of being used for chain reactions. Aim for clusters of objects near explosives, consider blast radius when positioning shots, and remember that chain reactions yield higher scores. Explosives have a blast radius.

09

FAQ: Aiming and Physics

Common Questions Answered

Q: Can I adjust aim after firing?

No, once the cannonball is fired, its trajectory is fixed based on the angle and power set. Plan carefully before releasing, use the trajectory preview to confirm, and restart the level if needed. There are no mid-flight adjustments.

Q: Does wind affect the cannonball?

No, the game does not simulate wind; only gravity and initial velocity affect the trajectory. Physics is deterministic, so focus on angle and power only. There is no wind mechanic in Royal Smash.

Q: How do I get better at chain reactions?

Practice identifying structural weaknesses and using explosives strategically. Study level layouts before shooting, experiment with different angles, and watch for load-bearing elements. Chain reactions are key to high scores.